Although it may not seem like it, the sink is a real breeding ground for germs and bacteria. It is one of the dirtiest corners of the house. To give you an idea: they can accumulate more bacteria than the toilet. However, deep cleaning and removing bad odors from the sink is easier than you think. We show you how you can disinfect it step by step, with these simple tricks, and make it shiny.
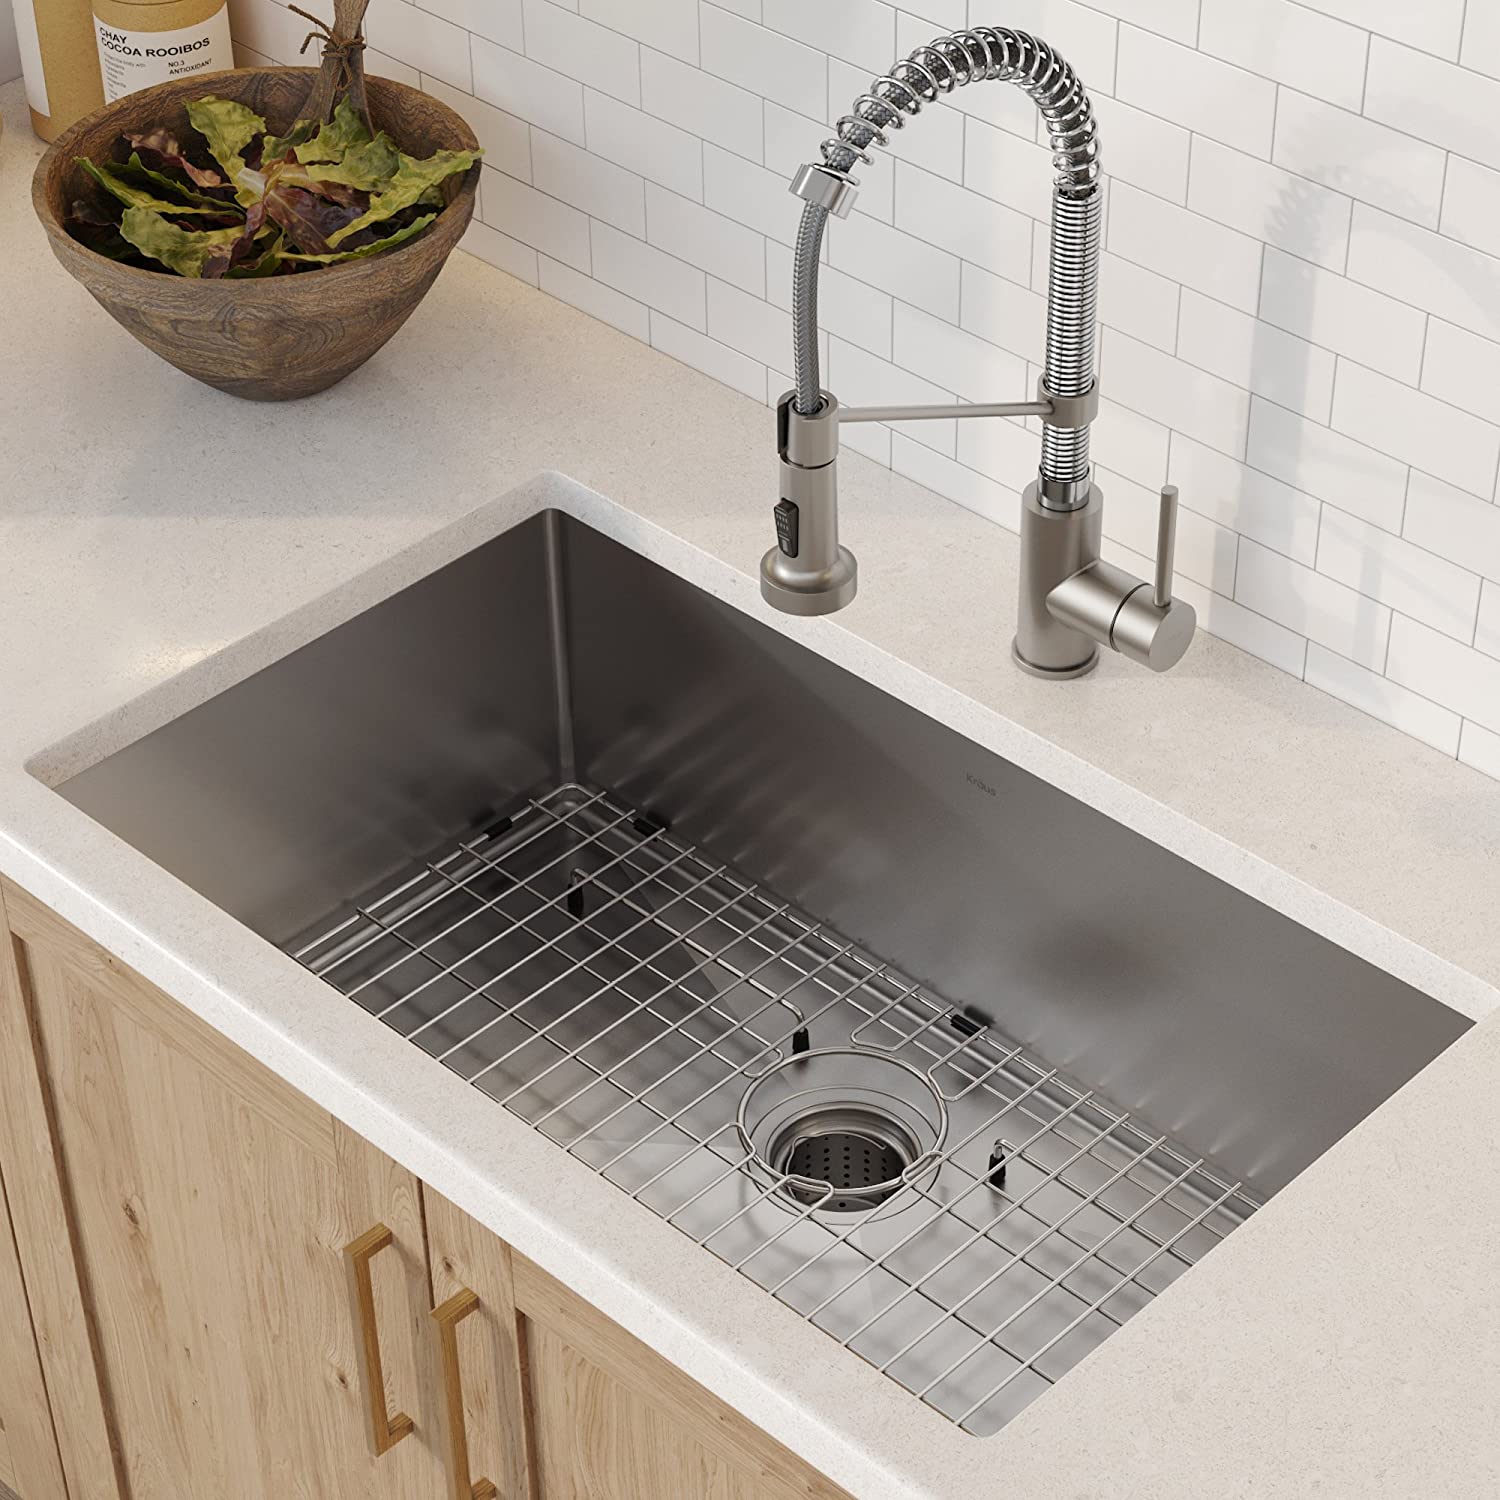
When cleaning the kitchen, we must pay special attention to the sink, since it is in continuous contact with water. This is an important element in the kitchen, and we also use it continuously. Therefore, we must spend some time keeping it clean. Sinks can be made of various materials such as stainless steel, resin, crystal, glass, ceramic, or granite.
For this type of sink it is advisable:
- Use a sponge impregnated with soap and hot water, and pass it over the entire surface.
- Wipe off any excess soap with a cloth.
- Pass a cloth moistened with water and lemon juice or white vinegar over the entire surface to remove any traces of limescale.
- Clean joints and corners where dirt accumulates.
- Wash the faucet so it doesn’t get clogged.
- Clean the drain to avoid residues being deposited
- Also, clean the plug and the chain.
- Use a little bleach every 2 or 3 days to keep the sink sanitized
- Keep scouring pads and clothes clean, and add a drop of detergent to disinfect them.
It is also advisable to use a grate in the drain to prevent food debris from causing a blockage.

STEP 1. UNCLOG THE SINK
Before concentrating on cleaning the sink, we must pay special attention to the pipes. And it is that sometimes the pipes are the real cause of the bad smells in the sinks. There are two reasons why a bad smell appears in the pipes. The first is the accumulation of food in the drain. If we allow the grease to adhere to the pipes, over time it will decompose and smell bad. The second is the odors that rise from the sewers.
Thus, if the sink is clogged, the first thing to do is unclog the pipes and eliminate bad odors, for which you can use chemical cleaners or natural remedies. If you opt for this second way, you can use three different remedies:
BOILING WATER
- Boil a pot of water.
- Slowly pour down the drain and wait five minutes.
- Open the tap with cold water. With this small gesture, we will get the fat to be eliminated.
WHITE VINEGAR
- Pour a small amount of white vinegar down the drain.
- Let stand for about 30 minutes.
- Rinse with hot water.
BAKING SODIUM AND VINEGAR
- Pour half a cup of baking soda down the drain.
- Then pour a cup of vinegar down the drain.
- Let the solution foam up and try to let it sit for a few hours.
- Pour some boiling water down the drain to remove everything.
STEP 2. DO A GENERAL CLEANING WITH LIQUID SOAP OR BAKING SODA
Scrub the sink well with the help of a brush and a mixture of liquid soap and water. Do this procedure for a few minutes. Emphasize the most delicate areas of the sink, such as the taps.
Another very effective alternative is to use baking soda mixed with water. If you are going to opt for this second option, make sure that the sink is made of stainless steel. We give you a guide according to the material:
- Stainless Steel: Clean your stainless steel sink with baking soda, water, and even vinegar.
- Porcelain, copper, and granite: use warm water mixed with liquid soap to remove bacteria from the sink.
- Resin: to clean a resin sink, we will simply use a sponge with liquid soap and water. Then you just have to rinse and dry.
Tip: always avoid using very aggressive scouring pads or brushes so as not to scratch or wear out the sink area.
STEP 3. CLEAN THE TAPS AND CORNERS
The faucet is one of the areas of the sink that harbors the most dirt. Also behind the sink. To effectively clean your sink and kill germs, use water and white vinegar. You already know that this product is one of the most used (and effective) remedies for cleaning the house and it will also be your best ally in the sink.
Our recommendation? Do this step with the help of a brush. This way you can better reach the base of the faucet or the edges of the drain and clean the sink thoroughly.
STEP 4. DISINFECT
To give your sink a shine, fill a spray bottle with a 50/50 ratio of water and vinegar. White vinegar is a natural disinfectant that helps effectively kill germs. For surfaces that are not suitable for vinegar, use a mixture of hot water and liquid soap.
STEP 5. CLEAN THE ACCESSORIES WELL
In the sink area, we use a lot of cleaning tools: mats, a brush to clean the dishes, scouring pads, or containers for liquid soap. Well, try to clean them effectively with soap and water so that the sink area is spotless.
STEP 6. KEEP ORDER
For the sink to look clean for longer, it is important to maintain a good organization:
- Change sponges and brushes regularly.
- Ventilate the kitchen area to prevent bad odors from building up.
- Frequently renew utensils such as mats and cutlery holders…
Clean the sink regularly as it does not require a lot of time. Take it as “maintenance”, a few minutes after eating or after cooking is not a long time, and the result is obvious. In this way, you will also prevent germs from passing to kitchen utensils.
Finally, if you go on vacation, make sure you remove all the clothes and scouring pads that are not wet, leave the cap on, and turn off the water if you consider it appropriate, letting it run for a few minutes when you return.


Leave A Comment